Amazon is a global e-commerce platforms that operates as an online marketplace where individuals and businesses can buy and sell a wide range of products. Founded through Jeff Bezos in 1994, Amazon started as an online bookstore but quickly expanded to sell various categories, including electronics, clothing, groceries, books, and more.
Amazon is known for its customer centric approach, offering services like fast shipping, Prime membership for exclusive deals, and a vast selection of goods. With a strong global presence, Amazon is one of the largest and most influential companies in the world, shaping the future of e-commerce and technology.
Creating an Amazon Seller account is the first step in starting your e-commerce business on one of the world’s largest marketplaces.
Below these steps to set up your account and start selling.
Creating Amazon Seller Account steps to set up
1. Choose the Type of Amazon Seller Account
Amazon offers two types of seller accounts:
Individual Plan:
Best for those who plan to sell less than 40 items per month. There is no monthly subscription fee, but Amazon charges a fee per item sold.
Professional Plan:
Ideal for those who plan to sell more than 40 items per month. This plan comes with a monthly subscription fee, but it lowers the per-item selling fee.

2. Gather the required information.
To create your Amazon Seller account, you will need the following:
- Email Address: A valid business or personal email.
- Business Name: The name you want to display to customers.
- Credit Card: For payment of fees and charges.
- Bank Account Information: To receive payments from Amazon.
Tax Information: You’ll need your Tax ID or Social Security number.
3. Sign up to Amazon Seller Central.
Go to Amazon Seller Central.
- Click on “Sign Up”.
- Choose a reseller plan (Individual or Professional).
- Enter your email address and create a password.
4. Enter your business information.
Your seller profile is very important to attract customers. Fill in the following details:
Business Logo: Upload a clear logo that represents your brand.
Store Description: Write a short, catchy description of your business.
Return Policies: Clearly explain how customers can return items.
- Go to the “Inventory” tab in Seller Central.
- Click “Add Product”.
- Enter product details (title, description, images, price, etc.).
what is an Amazon Seller Central Account?
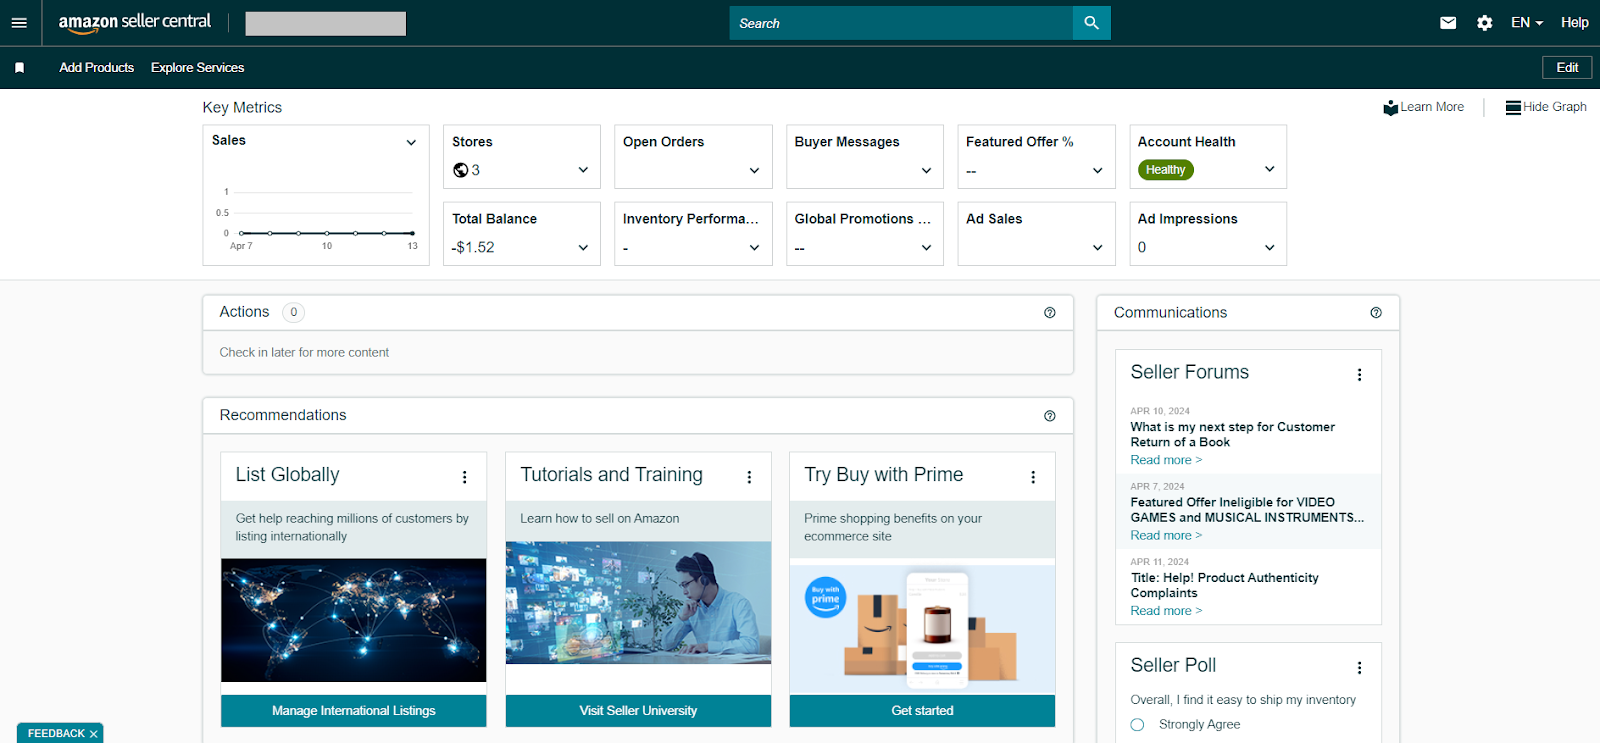
Amazon Seller Central Account is a web-based platform provided by Amazon to third-party sellers to manage their business on Amazon’s marketplace. It allows businesses and individuals to list products, manage sales and communicate with customers.
This account is a must for anyone who wants to sell products directly to millions of Amazon customers.
Note: creating an Amazon Seller Central account process may be slightly different depending on the country where you live. You may be requested to provide different documents and the verification time may be shorter or longer. Although, the main steps are the same for all sellers.
1. Visit the Amazon Seller Central website
Visit the official Amazon Seller Central website.
Click the “Sign Up” button to begin the registration process.
2. Select your selling plan.
Choose from two types of selling plans:
Individual Plan: Suitable for sellers who expect to sell less than 40 items per month.
Professional Plan: Ideal for sellers who plan to sell more than 40 items per month.
3. Enter your business information.
Enter your personal details, such as your full name, email address, and phone number.
5. Set a password.
Create a secure password to protect your Seller Central account.

6. Add bank account information.
You will need to provide your bank account details where Amazon will deposit your earnings.
7. Enter your credit card information.
Amazon requires a credit card to charge seller fees, especially for the Professional plan8. Provide tax information.
8. Provide tax information.
If you are outside the US, provide your equivalent tax identification information.
9. Verify your identity.
Amazon will verify your identity by sending a verification code to your phone or email.
In some cases, you may need to upload a scanned copy of your ID or passport.
10. Set up your seller profile.
Complete your seller profile by adding:
- Business logo
- Business Description (what your business is about)
- Customer service contact information
11. List Your First Product
Amazon Seller Central account FAQ
Is an amazon seller central free?
Amazon Seller Central is not completely free. There are different types of seller accounts, and fees depend on the type of account you choose:
Individual Account: This is a basic plan with no monthly membership fee. However, you will be charged $0.99 per item sold, with additional referral and closing fees based on the item category.
Professional Account: This account is best for sellers who plan to sell more than 40 items per month. The monthly subscription fee is $39.99 (plus applicable referral and termination fees), but you don’t pay the $0.99 per item fee that individual sellers pay.
How do i create my amazon seller account?
To create an Amazon seller account:
- Go to sellercentral.amazon.com.
- Click “Sign up”.
- Choose between Individual or Professional account.
- Enter your business details (name, address, bank account).
- Verify identity and submit necessary documents.
- Set up your payment method.
Can anyone become Amazon seller?
Almost anyone can become an Amazon seller. As long as you live in a country supported by Amazon and have basic information like a valid business or personal ID (passport or driver’s license) and an active bank account, you can sign up for an Amazon Seller Central account.